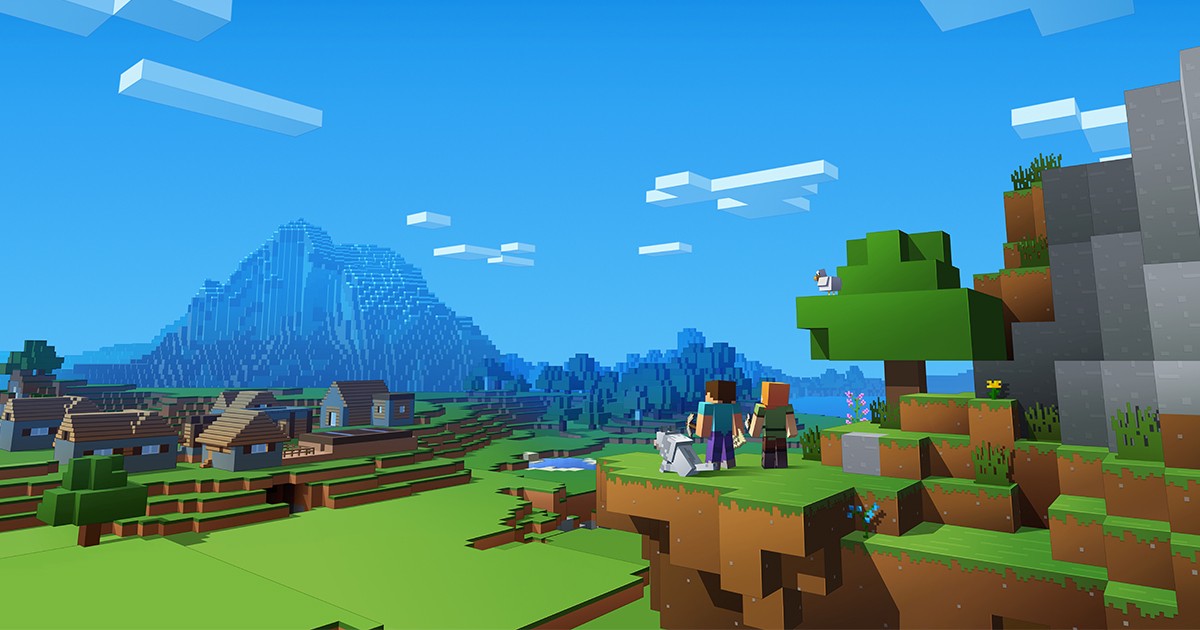
Having sold over 176 million copies as of 2019, Mojang’s sandbox adventure game – Minecraft, is the second-most popular video games in the world after Tetris.
The game has wildly captured the imaginations of kids, parents, and even school educators since its release in 2011 – and the craze continues to blaze.
But why is Minecraft so popular? Unlike most video games, it offers players with unlimited possibilities to create a 3-dimensional world using a variety of different blocks – a task that requires a lot of creativity.
It’s also an educational tool for kids that can help them learn anything from advanced computer skills, math, engineering, architecture, art, and history. Kids also pick up life skills like creativity, problem-solving, exploration, and teamwork.
While playing Minecraft is exciting, you may want to take the gaming experience a step further by setting up a private Minecraft server. Fortunately, setting up a private Minecraft server is easy if you have some basic computer and networking skills.
In this guide, we’ll show you how to set up a private Minecraft server on Windows, Mac, and Linux VPS.
How to Set Up a Private Minecraft Server
Before you dive into the niceties, there are some basic steps you’ll need to follow.
At the very least, you’ll need to:
- Update Java to the latest version
- Choose server location
- Download and install the most recent version of Minecraft server software
- Start the server
- Check whether the server is accessible
Consider Your Options
To run a Minecraft server from home, you don’t need a top-of-the-line system. However, for you to play and run the server on the same machine smoothly, your system needs to be powerful.
But what if, for whatever reasons you don’t want to host your Minecraft server from home? The most ideal solution is to use a game server provided by a hosting provider.
With a dedicated game server, you don’t have to deal with the hassle of managing server hardware. Also, you don’t have to worry about poor connections or lag when in multiplayer mode.
With that in mind, now let’s dive into the particulars.

Setting up a Minecraft Server on Windows
Get the latest Java version
Being a Java-based sandbox game, the first thing you’ll want to do is to download and install the latest version of Java in your Windows PC.
Pick a location for your Minecraft server files
The next step is to identify a location in your PC where you’ll set up and run the server. You can create a dedicated folder on your desktop or in any other location on your PC. The point here is to keep the configuration files in one place and organized.
Download Minecraft server
Once you’ve identified a location for your Minecraft server files, go ahead and download the most recent version of Minecraft server software from Minecraft’s official website.
The downloaded file will be in .jar format. Move it to the destination folder you chose above and double-click it to start the server. The server configuration files will be created but you’ll need to make some adjustments before the server is ready to use.
At this point, you’ll be required to accept the end-user license agreement (EULA). Accepting the EULA will enable you to start the server.
To agree to the EULA, double-click on the eula.txt file and then replace the eula=false line of text to eula=true. Save then close.
Start the server
You can now start your Minecraft server. There are two ways you can do this.
You can choose to double click the .jar file. With this option, however, you might be required to allow the server through a firewall.
The other option is to open the dedicated Minecraft server folder where the server files were installed and start the server by executing this command:
java -Xmx1024M -Xms1024M -jar minecraft_server.jar nogui
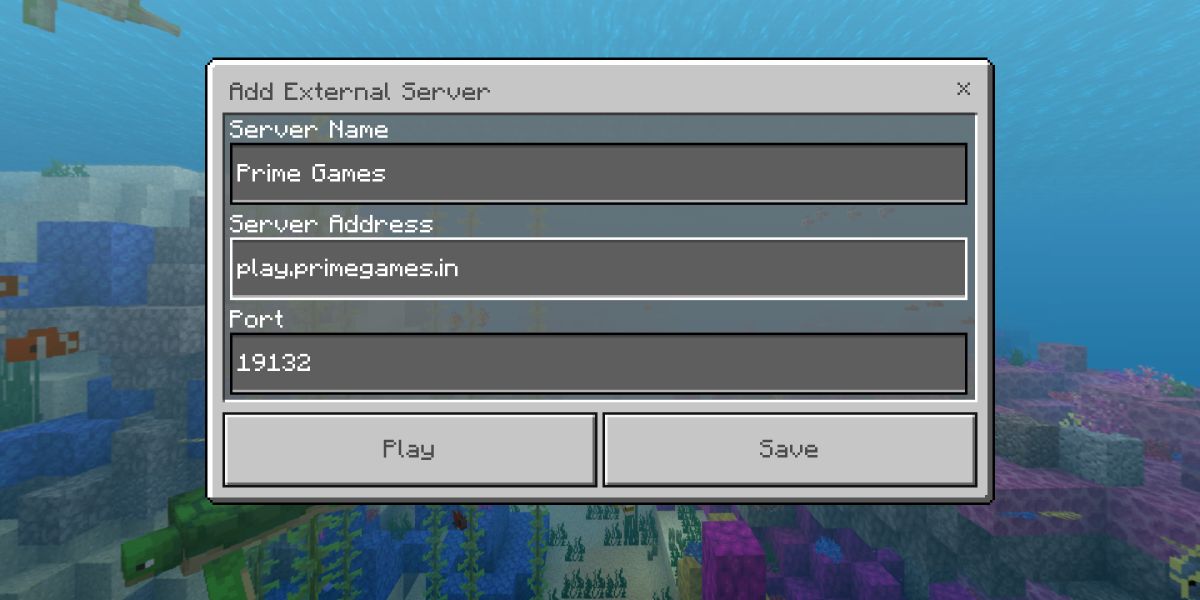
Your server is now up and running and you can start inviting friends to join in via your local or public IP address. However, it’s advisable to check whether your server is accessible by entering your public IP into the Minecraft Server Checker.
Setting up a Minecraft Server on Mac
The procedure is quite similar to that of setting up on Windows OS.
Update or install Java
All new MacOS versions come with Java. However, you can check your version by navigating to System Preferences then clicking on Java. You’ll be able to see your Java version from the Java control panel.
For computers running on older macOS versions, you’ll have to download the legacy version of Java from the Apple website.
Choose a location to store your server files
Create a destination folder on your desktop or any other place you prefer where you’ll store your Minecraft server configuration files.
Download the Minecraft server set up program
Now visit the official Minecraft website and download the server software. You will get a .jar file in your Downloads folder. Copy the file to the destination folder.
Now open the TextEdit program – select the plain text option and enter the following command sequence:
#!/bin/bash
cd “$(dirname “$0″)”
exec java -Xms1024M -Xmx1024M -jar minecraft_server.jar nogui
In the same file directory where the server files are stored, save this file as startmc.command. But for this file to work, you’ll need “execute” permission.
To grant permission, open your terminal and type in the following command: chmod a+x startmc.command
Start the server
If the above steps are followed correctly, double-clicking the startmc.command should start the server. A new terminal window will pop up and you might get a directory warning or missing file error message. This should not be a cause for alarm as it happens whenever you run a Minecraft server for the first time.
Set Up a Minecraft Server an Linux VPS
As aforementioned, some players may not be inclined to the idea of hosting their Minecraft server at home. A cheap alternative would be to spin up a Linux VPS hosting plan.
With a Linus VPS, you’ll enjoy better network security, server-grade hardware, and of course, lagging will be a thing of the past. You can check out this article from and learn how you can set up a private Minecraft server on Linux VPS.
Conclusion
With a private Minecraft server, you have more control. You can modify the rules of the game, invite your buddies to join in for some fun, install mods, and more. Similarly, parents can have control over whom you’re their kids interact with online.
The post How to Set Up a Private Minecraft Server appeared first on Gaming Debugged | Video Games Blog Covering Xbox One, Indie Games and Gaming Discussion.
